

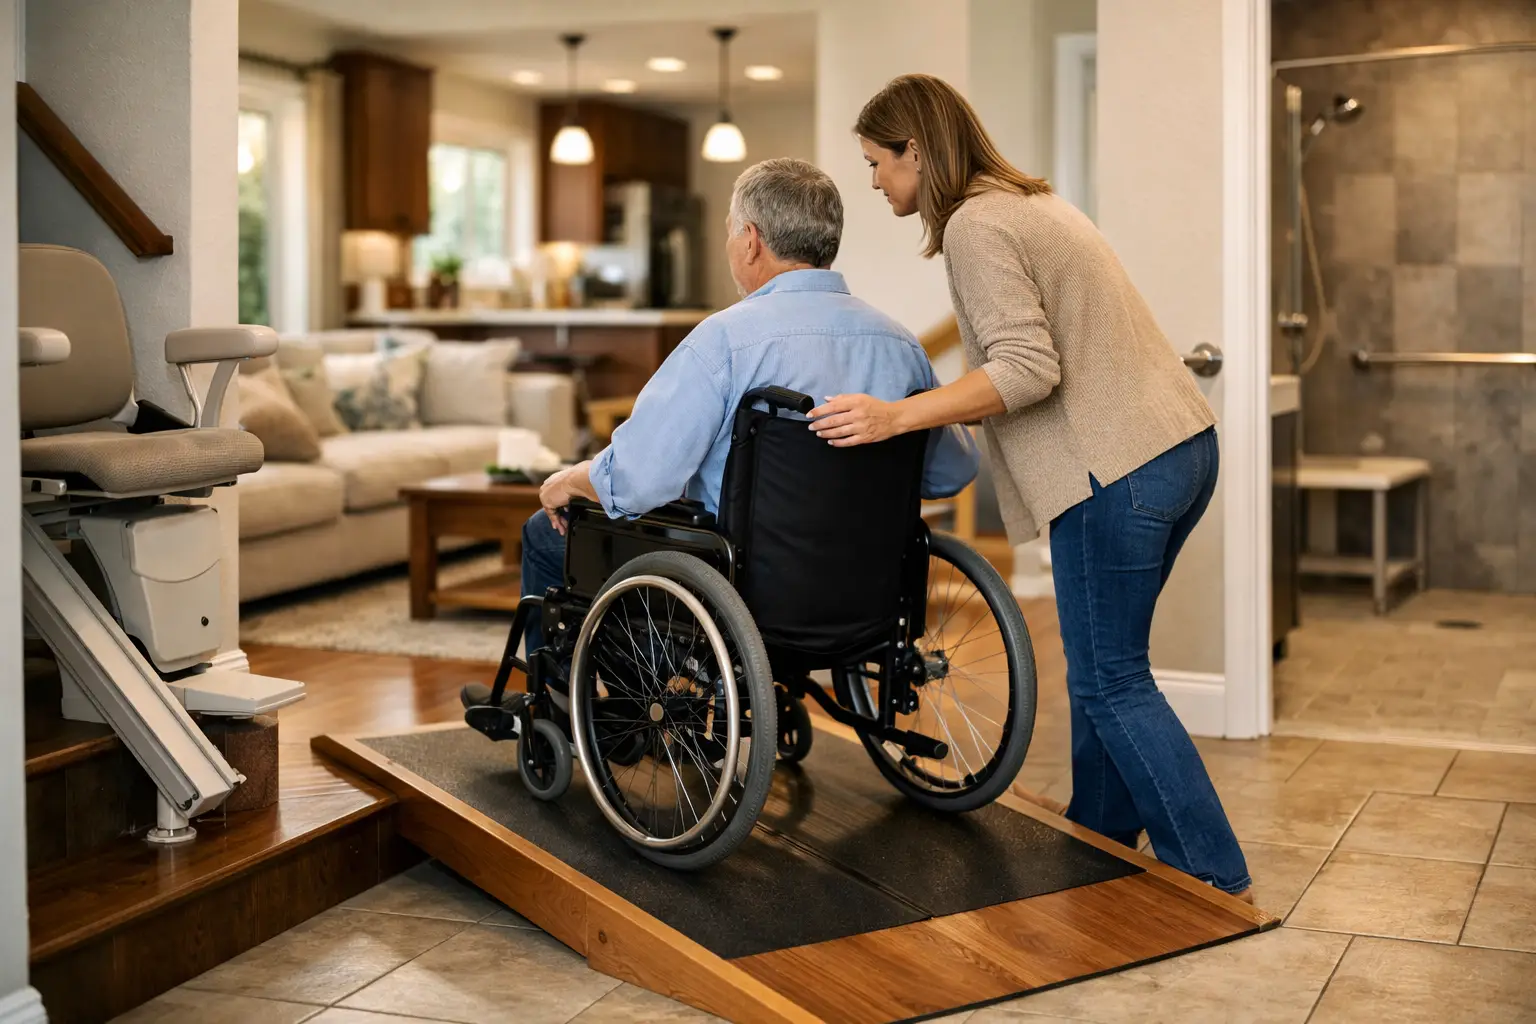
How to Make a Home Wheelchair Accessible Safely
A front step that once felt insignificant can become the point where independent living stops. Learning how to make a home wheelchair accessible starts by looking beyond a single ramp or grab bar. The goal is to create a safe, practical route through everyday life – arriving home, entering the bathroom, preparing a meal, reaching a bedroom, and leaving again without unnecessary risk or assistance.
For many Southern Ontario homeowners, accessibility renovations are prompted by a new diagnosis, recovery from an injury, aging in place, or a family member moving in. The right solution depends on the person using the home, the layout of the property, and whether the need is temporary or long-term. A thoughtful plan protects independence now while adding lasting value and flexibility to the home.
Start With a Room-by-Room Accessibility Assessment
Before selecting fixtures or requesting prices, follow the full path the wheelchair user takes in a typical day. Begin at the parking area or sidewalk, continue through the primary entrance, and move through the rooms used most often. Watch for tight turns, changes in floor height, narrow door openings, high thresholds, limited transfer space, and controls that cannot be reached from a seated position.
This assessment should consider the user, not a generic checklist. A manual wheelchair, power chair, walker, or transfer bench each requires different clearance and turning space. Someone with limited hand strength may need lever handles and easy-to-operate taps, while someone with changing mobility needs may benefit from a larger renovation that allows care support later.
It also helps to identify the essential living functions: sleeping, bathing, eating, using the toilet, and entering or exiting the home. If all of these can happen on one level, a homeowner may avoid a costly full-house renovation. In a two-story home, however, access to an upper-floor bedroom or only full bathroom can make a lift, main-floor addition, or major interior reconfiguration the more practical choice.
Create a Safe, Step-Free Way In
The entrance is usually the first major barrier. A properly designed ramp can provide access, but it needs a suitable slope, safe landings, handrails where required, edge protection, drainage, and a surface that remains stable in rain, snow, and freeze-thaw conditions. A steep, temporary-looking ramp may be less expensive upfront, but it can be difficult and unsafe to use independently.
Where site conditions permit, grading the walkway for a gentle, step-free route may offer a cleaner and more durable solution. In other cases, a vertical platform lift is the better option, particularly when there is limited space for a ramp or a significant height difference at the entrance. The best approach depends on the home’s lot, elevation, exterior finishes, and local permit requirements.
At the door, remove or reduce raised thresholds where possible and make sure there is enough level space to approach, open, and clear the door. A wider exterior door and lever-style hardware can make a major difference. Consider weather protection as well. An accessible entry that becomes slippery or difficult to clear in winter is not truly dependable.
Plan for Doorways, Hallways, and Turning Space
A wheelchair needs more than a clear opening at the doorway. The user also needs enough space to approach the door, operate the handle, and turn into the room. Many older homes have narrow halls, small vestibules, and tight corners that make travel difficult even after a door is widened.
As a general planning benchmark, a 36-inch door is commonly used to achieve a clear opening suitable for wheelchair passage, although the final design should be confirmed for the specific chair and conditions. Pocket doors can save space in bathrooms and closets, but they must be easy to operate and properly installed. Swing direction matters, too. A bathroom door that blocks a transfer area can create a daily safety issue.
Open-plan changes can improve circulation, but removing walls requires careful review. Some walls are structural, and changes may affect electrical, plumbing, heating, fire separation, or condominium rules. A professional contractor can coordinate the required trades, drawings, permits, and inspections instead of treating accessibility as a series of disconnected fixes.
Make the Bathroom the First Priority
Bathrooms are often the most important room in an accessibility renovation because they combine water, hard surfaces, confined spaces, and transfers. A well-designed accessible bathroom should allow the user to enter, turn, approach the toilet and shower, and use fixtures with dignity.
A curbless shower is often a strong long-term option. It removes the step at the shower entry and can accommodate a shower wheelchair or bench. However, it requires careful floor slope, waterproofing, drain placement, and tile selection. Cutting corners behind the finished walls can lead to leaks and expensive repairs, so this work should be planned as a complete assembly rather than a cosmetic bathroom update.
Grab bars should be placed based on anticipated transfer movements, not added wherever there is open wall space. Backing must be installed in the walls so bars can be securely fastened. A comfort-height toilet, accessible vanity with knee clearance, reachable mirror, handheld shower, and pressure-balanced controls can improve everyday usability. A roll-under sink may be useful for one person but unnecessary for another, particularly where storage is more valuable and the user can transfer or stand briefly.
Improve the Kitchen Without Losing Function
An accessible kitchen does not need to look institutional. It needs to reduce reaching, bending, and tight manoeuvring while keeping the cooking area functional for everyone in the household. Clear floor space and sensible appliance placement are usually more important than dramatic visual changes.
Consider lower work surfaces or a section of adjustable-height counter, open knee space below a prep area, pull-out shelves, D-shaped cabinet pulls, and drawers instead of deep lower cabinets. A side-opening oven or a cooktop with controls at the front can reduce reaching over hot surfaces. Refrigerators, dishwashers, and microwaves should be positioned so doors do not trap the wheelchair user in a narrow aisle.
Not every kitchen needs a full rebuild. If the existing layout has adequate circulation, targeted cabinet modifications and hardware changes may provide meaningful improvement. When the kitchen is already scheduled for renovation, incorporating accessibility from the start is more cost-effective than trying to retrofit it later.
Address Stairs and Sleeping Areas Early
If the home’s only accessible bedroom and full bathroom are on different floors, stairs cannot be an afterthought. A stair lift can work well where the user can transfer safely and the staircase configuration allows it. A residential elevator or vertical lift may be better for someone using a power wheelchair, carrying medical equipment, or planning for long-term needs.
A main-floor bedroom conversion can also be a practical answer. It may involve adapting a den, dining room, or family room and adding or expanding a nearby bathroom. For families planning a larger renovation or addition, creating a fully accessible main-floor suite provides flexibility without forcing the entire home to become barrier-free at once.
Build Safety Into the Details
Small changes can prevent major incidents. Choose low-glare lighting, add switches at reachable heights, use lever handles, and select flooring that is firm, stable, and slip-resistant. Loose rugs, thick carpet transitions, and uneven thresholds can obstruct wheels and create trip hazards for everyone else in the household.
Automatic door operators, smart lighting, video doorbells, and voice-controlled devices can reduce effort, but technology should support a sound physical layout rather than compensate for one. Reliable access still comes down to clear routes, secure surfaces, and fixtures installed at useful heights.
Plan the Renovation Around Budget, Permits, and Daily Living
Accessibility work ranges from modest modifications to complete structural renovations. A phased plan can be sensible when budgets are limited: address safe entry and bathing first, then improve bedroom access, kitchen function, and longer-term circulation. The risk is spending money on temporary work that must later be removed, so each phase should support the final plan.
Permit needs vary by scope. Structural changes, plumbing relocations, electrical work, additions, lifts, and exterior alterations may require permits and inspections. Condominium owners may also need approval from their corporation before work begins. Clear planning helps avoid delays, uncoordinated trades, and changes that compromise the finished result.
Canex Group of Companies manages accessibility renovations as coordinated construction projects, from assessing the layout and handling permits to scheduling qualified trades and completing the final details. That level of oversight matters when a ramp, bathroom, doorway, and electrical change must work together safely.
The best accessible home does not announce itself with a collection of add-ons. It simply lets the person who lives there move through the day with more confidence, more comfort, and fewer limits. Start with the route that matters most, then build a plan that will keep working as life changes.