

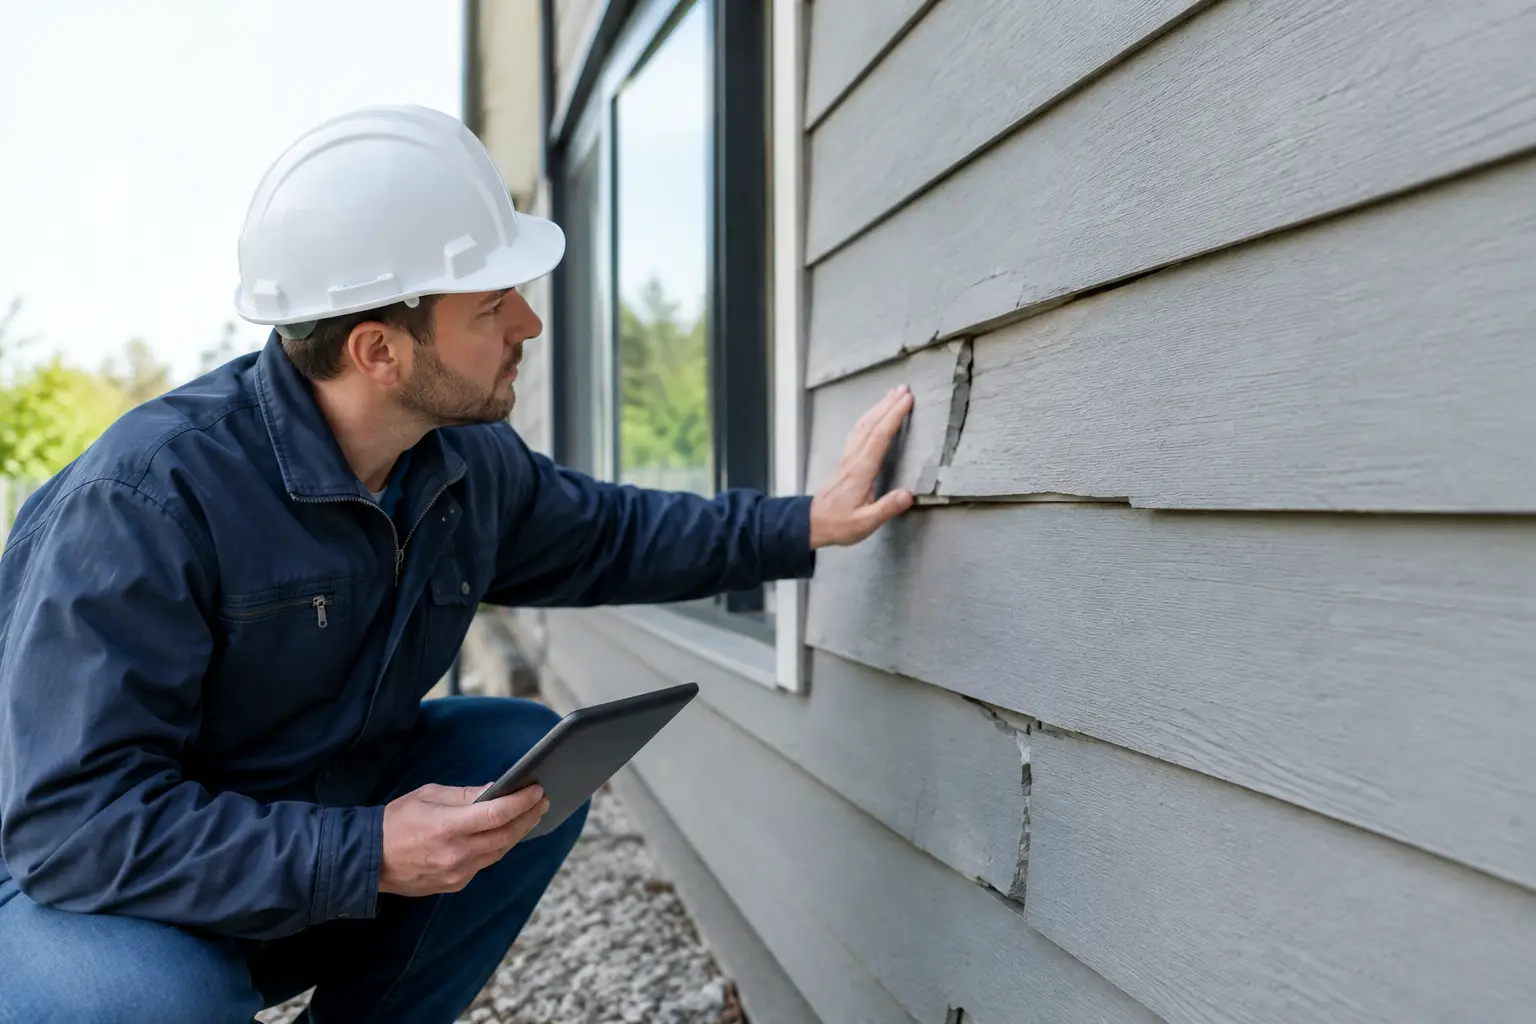
7 Signs of Exterior Cladding Failures to Act On
A crack in stucco, loose panel, or stain beneath a window can look like a minor maintenance issue. Exterior cladding failures are rarely that simple. The visible defect may be the first sign that water is entering the wall assembly, fasteners are deteriorating, drainage is blocked, or materials are moving in ways the system was not designed to handle.
For homeowners, property managers, condominium boards, and developers, the right response is not to cover the symptom and hope for the best. It is to determine what has failed, how far the issue extends, and what repair will restore the wall’s ability to manage water, air, heat, and movement. Early action protects the building, the people inside it, and the project budget.
Why Exterior Cladding Failures Demand Attention
Cladding is the building’s outer protective layer. Depending on the property, that may include stucco, EIFS, masonry veneer, metal panels, fiber-cement siding, precast components, or another exterior wall system. While appearances matter, cladding has a more demanding job: it helps control rain, wind, temperature changes, and exposure over decades.
When a wall system fails, water is often the central concern. Moisture can travel behind an apparently sound surface and damage sheathing, insulation, structural framing, interior finishes, and electrical components. In multi-unit and commercial properties, one localized opening can affect multiple floors, suites, or common areas.
The cost of waiting is not limited to the repair itself. Delayed work can lead to more extensive demolition, tenant disruption, emergency protection measures, insurance complications, and a larger capital expense. A targeted investigation early in the process is usually more responsible than repeatedly patching a recurring defect.
7 Signs of Exterior Cladding Failures
1. Cracks that return after patching
Hairline cracking can occur as materials cure or move with seasonal temperatures. However, cracks that widen, spread, follow a repeating pattern, or return shortly after repair need closer review. They may indicate substrate movement, missing reinforcement, inadequate control joints, poor installation, or water-related deterioration behind the finish.
A repair should address the cause of movement, not merely fill the visible line. This is especially important with stucco and EIFS assemblies, where a clean-looking patch can conceal an unresolved issue at the base wall.
2. Staining, streaking, or rust marks
Dark streaks below windows, balconies, parapets, vents, or horizontal ledges are often signs that water is not draining where it should. Rust staining may point to corroding fasteners, metal accessories, embedded steel, or flashings.
Staining does not automatically confirm a major failure. It does, however, identify a location that deserves investigation. The key questions are where the water is entering, whether it is being redirected correctly, and whether the wall has a functional drainage path.
3. Bulging, bowing, or loose material
Cladding should sit flat, secure, and consistently aligned. Bulging stucco, displaced panels, loose veneer, or sections that sound hollow when tapped may signal deteriorated attachment, trapped moisture, delamination, or movement in the backing system.
This can become a safety issue. Any material at risk of falling should be assessed promptly, with the affected area protected until a qualified team can determine the proper repair scope.
4. Soft spots and deterioration around openings
Windows, doors, balconies, roof-to-wall transitions, and penetrations are high-risk areas because several materials meet in one location. Failed sealant, improper flashing, missing end dams, or poor integration between components can allow water behind the cladding.
Interior clues can include peeling paint, swollen trim, musty odors, or discoloration around window openings. Exterior and interior symptoms should be reviewed together. A wall problem does not stop at the face of the building.
5. Failed caulking and open joints
Sealant is often treated as a cosmetic detail, but it is a critical part of many exterior assemblies. Gaps, hard or brittle caulking, separation at window frames, and missing backer rod can create direct paths for water and air leakage.
Replacing sealant can be appropriate when the rest of the assembly is sound. If joints keep opening, though, the issue may be excessive movement, incorrect joint design, incompatible materials, or a broader failure in adjacent cladding.
6. Efflorescence or persistent dampness
White, powdery deposits on masonry, stucco, or concrete are known as efflorescence. They occur when moisture moves through a material and leaves salts behind as it evaporates. One occurrence may be related to a temporary wetting event, but persistent efflorescence means the moisture source should be identified.
Damp areas that do not dry, especially near grade or beneath balconies, may indicate missing drainage, poor site grading, leaking flashings, or water being retained within the wall. The solution depends on the assembly, which is why assumptions are expensive.
7. Increasing energy use or comfort complaints
Drafty rooms, cold wall surfaces, condensation, and unexplained heating or cooling costs can be connected to exterior wall performance. Air leakage and wet insulation reduce comfort and can affect how the building manages moisture.
These symptoms do not prove a cladding problem on their own. They do justify a coordinated look at the exterior envelope, windows, roof transitions, and ventilation conditions rather than treating each complaint as separate.
Common Causes Behind Cladding Problems
Exterior walls fail for different reasons, and more than one cause is often present. Workmanship issues can include improper lapping of weather-resistive barriers, missing flashings, insufficient fasteners, inadequate drainage space, or incorrect detailing at transitions. Material selection matters as well. A system must be appropriate for the building height, exposure, structure, and expected movement.
Age and maintenance also play a role. Sealants, coatings, flashings, and fasteners do not last forever. Freeze-thaw cycles, wind-driven rain, ultraviolet exposure, and repeated thermal expansion place real demands on every exterior wall in Southern Ontario.
Alterations can create problems too. New windows, balcony work, signage, mechanical penetrations, or additions must be integrated correctly with the existing wall system. A good-looking renovation can still create a leak path if the layers behind the finish are not tied together properly.
A Better Process for Diagnosing the Failure
The correct repair begins with a clear scope. That means documenting visible conditions, reviewing the building’s history, and examining the details where failures commonly begin. Depending on the situation, the investigation may include moisture testing, selective openings, probing, infrared review, or closer examination of flashings and drainage components.
Selective openings are not a sign of poor planning. They are often the most responsible way to understand concealed conditions before committing to a repair approach. They can reveal whether moisture damage is localized or widespread, whether the drainage plane is intact, and whether the cladding can be repaired in sections or requires broader replacement.
For condominium, apartment, commercial, and high-rise projects, coordination matters as much as diagnosis. Access, safety planning, occupant communication, staging, permits, inspections, and trade sequencing all affect cost and schedule. A repair plan that ignores these realities may look economical on paper but create avoidable disruption on site.
Repair Options Depend on the Wall Assembly
Some exterior cladding failures can be resolved with focused work: replacing failed sealant, correcting a flashing detail, repairing a small damaged area, restoring a coating, or re-securing a limited section of cladding. These repairs make sense when the surrounding assembly is performing as intended.
More extensive problems may require removal of affected cladding, replacement of damaged sheathing or insulation, installation of a proper weather-resistive barrier and drainage layer, and reinstallation of the finish system. This approach has a higher upfront cost, but it may be the responsible choice when moisture damage or detailing deficiencies extend beyond the visible surface.
The best option is not always the smallest repair. It is the repair that provides a defensible long-term result, respects the property’s budget, and reduces the likelihood of reopening the same wall within a few years.
Protect the Building Before Repairs Become Emergency Work
Regular visual reviews are a practical first line of defense. Check walls after severe weather, watch vulnerable details around openings and rooflines, and document changes instead of relying on memory. Property owners should also maintain records of past repairs, leaks, coatings, window replacements, and alterations. That history helps identify patterns and supports a more accurate investigation.
Canex Group approaches exterior wall work with the same accountability required for any complex construction project: clear scope, qualified trade coordination, honest communication, and attention to the details behind the finished surface. When a cladding concern appears, a timely professional assessment gives you options. Waiting until material falls, water reaches interior finishes, or residents are affected usually takes those options away.