

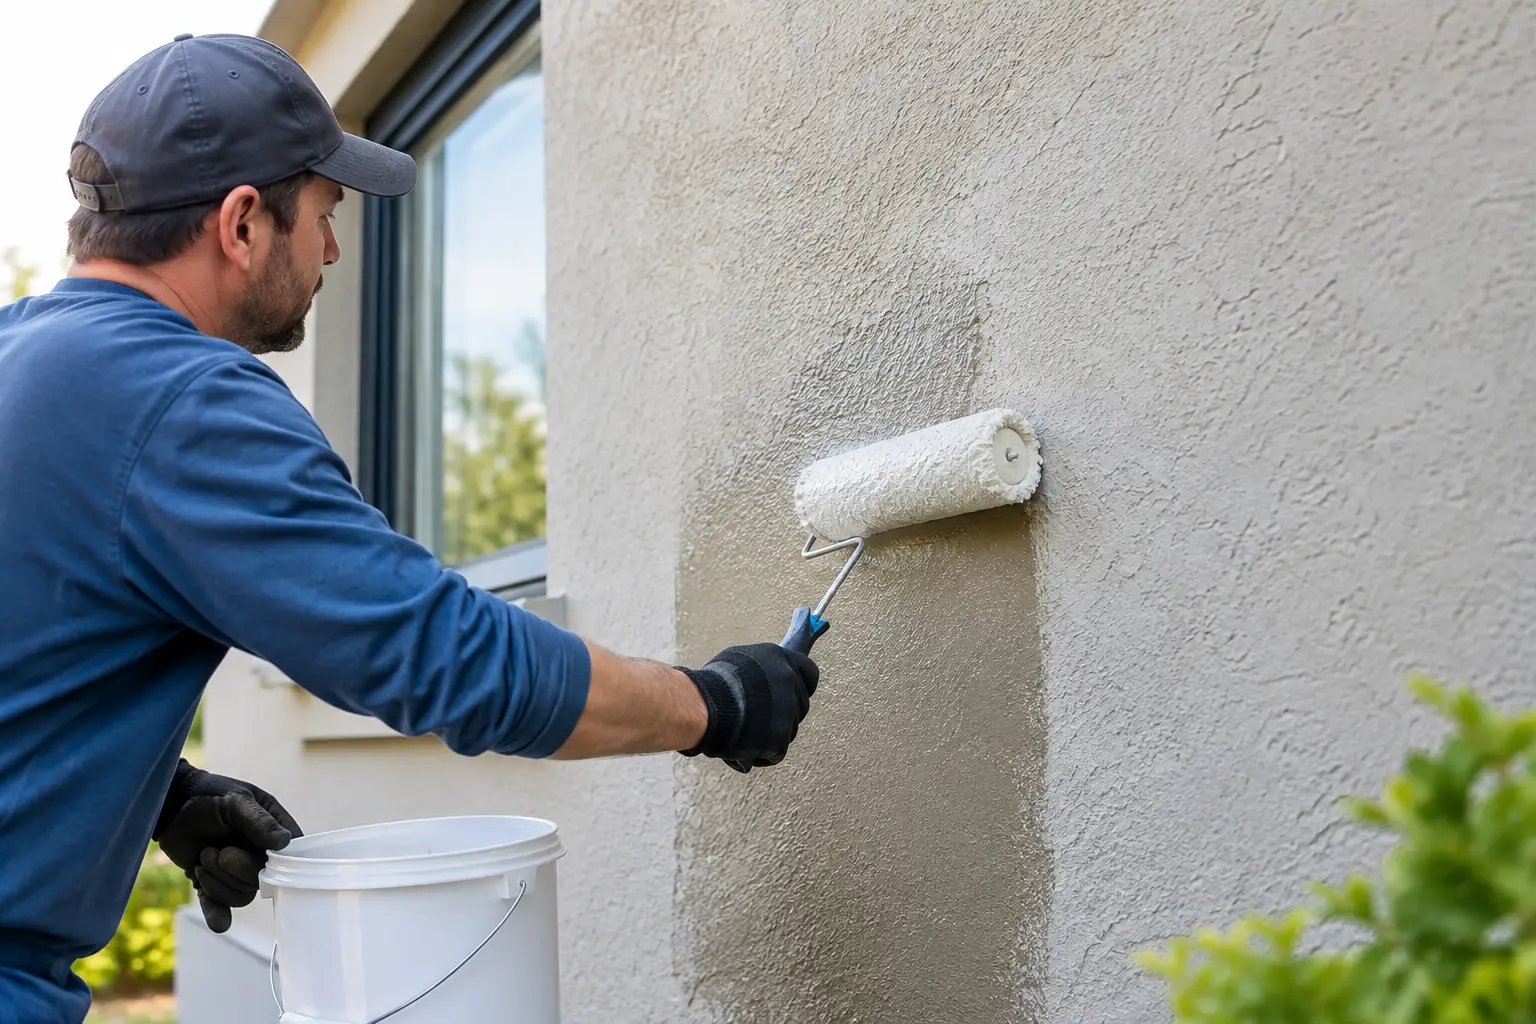
How to Waterproof Exterior Stucco Properly
Stucco should shed rain, not hold it behind the finish. That distinction matters when homeowners and property managers ask how to waterproof exterior stucco. The right approach is not simply applying a thick coating over the wall. It is finding where water enters, correcting failed details, repairing the stucco assembly, and using a finish that lets trapped moisture escape.
A properly maintained stucco exterior can perform well for decades. But cracks, failed sealant joints, poor flashing, roof runoff, and penetrations around windows or fixtures can turn a small maintenance issue into staining, mould, damaged sheathing, or loose stucco. For homes, multi-unit properties, and commercial buildings, water management needs to be treated as a building-envelope issue, not a cosmetic paint project.
How to Waterproof Exterior Stucco Without Trapping Moisture
Stucco is not fully waterproof on its own. Traditional cement stucco is a porous cladding designed to resist weather while allowing some vapour movement. Water that reaches the surface should drain or evaporate before it can harm the wall behind it.
That is why the goal is water resistance and proper drainage, not a sealed-in wall. A non-breathable coating may appear to solve a leak, yet it can trap moisture that is already within the stucco or wall cavity. In freeze-thaw climates, that moisture can expand, worsen cracking, and cause sections of finish to separate.
Before any coating is selected, determine what type of wall system is present. Conventional stucco is generally installed over a drainage plane, metal lath, and cement base coats. EIFS, or exterior insulation and finish system, is a different assembly with insulation boards, reinforcing mesh, and a synthetic finish. The repair methods, compatible sealants, drainage requirements, and coating choices are not interchangeable.
If the wall has persistent staining, soft areas, widespread cracking, interior leaks, or bulging finish, a professional building-envelope assessment is the responsible first step. Surface coating alone cannot correct failed flashing, wet sheathing, or drainage problems behind the cladding.
Start With a Thorough Exterior Inspection
Inspect the wall during dry weather, then again after a hard rain if possible. Water does not always enter where the visible stain appears. It may travel behind the stucco from a roof edge, window head, deck connection, parapet, or wall penetration.
Pay close attention to cracks. Hairline surface cracks may be limited to the finish coat, but wider, diagonal, horizontal, or recurring cracks can indicate movement, moisture damage, or inadequate control joints. Also inspect transitions where stucco meets a different material, including brick, stone, siding, window frames, doors, trim, and roof flashing. These joints rely on flexible sealant and are common failure points.
Look for these warning signs:
- Dark staining, algae, or white mineral deposits beneath windows, at rooflines, or around penetrations
- Cracked, shrunken, missing, or detached sealant around windows, doors, pipes, vents, and fixtures
- Rust staining, exposed lath, bubbling paint, soft spots, or hollow sounds when the wall is lightly tapped
- Missing kick-out flashing, clogged gutters, short downspouts, or landscaping that directs water toward the wall
Drainage around the building deserves the same attention as the stucco itself. Soil should slope away from the structure, and sprinklers should not repeatedly saturate exterior walls. Correcting roof runoff and ground drainage often prevents repeat damage after repairs are complete.
Repair the Wall Before Applying Any Sealer
Cleaning and coating a damaged stucco wall can hide the symptoms temporarily while moisture continues to move behind the finish. Repairs come first.
Small, stable hairline cracks can often be cleaned and filled with a compatible elastomeric crack filler or patching material. The repair should match the existing texture and be allowed to cure according to the manufacturer’s requirements. Do not fill every crack with rigid mortar. Stucco and adjoining materials move differently, so joints around frames and dissimilar materials need a flexible exterior-grade sealant rather than a cement patch.
For larger cracks, loose stucco, rust staining, or areas that sound hollow, the damaged material may need to be removed back to sound substrate. This work can expose compromised lath, damaged building paper, or wet sheathing. At that point, the repair should rebuild the wall correctly, including drainage-plane materials, flashing, lath, base coat, reinforcement, and finish coat as required.
Windows and doors require particular care. Properly functioning head flashing, side flashing, sill drainage, and sealant joints work together. Caulking over a failed window flashing detail is not a durable repair. The water may simply find another path behind the wall.
Choose a Breathable Waterproofing Coating
Once repairs are complete and the stucco is dry, a breathable masonry coating can improve resistance to wind-driven rain. Acrylic elastomeric coatings are often used on stucco because they can bridge minor hairline cracks and expand and contract with seasonal movement. However, product selection depends on the wall system, existing finish, moisture conditions, and local exposure.
A coating should be vapour permeable enough to allow the wall to dry while still providing a continuous rain-shedding surface. This is especially important on older walls and in areas with frequent freeze-thaw cycles. Avoid applying an unknown coating over chalky paint, peeling layers, active dampness, or dirty stucco. Adhesion problems will follow.
Preparation controls the outcome. The surface should be cleaned of dirt, mildew, loose paint, and efflorescence without damaging the stucco. Low-pressure washing with an appropriate cleaner is usually safer than aggressive pressure washing, which can force water into cracks and weak points. Let the wall dry fully before priming or coating.
Use a primer only when the selected coating system calls for one. Apply the coating at the required coverage rate, usually in two uniform coats, paying careful attention to repaired cracks, corners, transitions, and difficult-to-reach areas. Thin application is a common reason coatings fail early. So is coating during rain, excessive heat, high humidity, or temperatures outside the manufacturer’s recommended range.
Seal Openings and Transitions Correctly
Stucco-to-window and stucco-to-door joints need more than a bead of caulk squeezed over old material. Remove loose or failed sealant, clean the joint, and use a backer rod where the joint is deep enough to require it. The backer rod helps create the correct sealant shape so it can stretch and compress without tearing away from the sides of the joint.
Select a high-quality exterior sealant compatible with stucco and the adjoining material. The joint should be wide enough and deep enough to accommodate movement. A very thin smear of sealant tends to fail quickly, while sealant bonded on three sides can tear as materials expand and contract.
Do not seal intended drainage paths. Weep screeds, drainage gaps, and certain window-system outlets are designed to let water leave the assembly. Blocking them can trap water where it does the most damage. This is one reason exterior stucco waterproofing should be approached as a coordinated system rather than a collection of isolated patches.
Maintain the Work After Waterproofing
Waterproofing is not a one-time promise that eliminates exterior maintenance. Inspect stucco at least once a year and after severe weather. Clear gutters and downspouts, trim vegetation away from the walls, and address small cracks or failed sealant before they become larger repairs.
Painted stucco will eventually need recoating. The timing depends on exposure, coating quality, building movement, and maintenance history. South- and west-facing walls, roof transitions, and walls exposed to driving rain typically need closer attention than protected elevations.
For larger buildings, condominium properties, or walls with recurring moisture issues, documentation is valuable. Keep records of observed conditions, repair locations, coating products, and maintenance dates. It supports better budgeting and allows future work to address patterns instead of repeatedly responding to visible symptoms.
Canex Group of Companies approaches stucco repair and waterproofing as part of the complete wall system. From identifying failed details to coordinating repairs and protective finishes, accountable project management helps prevent a short-term cosmetic fix from becoming a larger envelope problem.
A dry stucco wall starts with disciplined details: sound repairs, working flashing, proper drainage, flexible joints, and a coating that allows the assembly to breathe. Address the cause of water entry first, and the finished exterior will have a far better chance of staying clean, durable, and dependable.